Saturday, October 22, 2011

Journal Fest trades....


For once I have actually finished some trades BEFORE heading off to the retreat! :)
I wasn't sure what to make but knew I wanted to use what I had already -not go buy a bunch of stuff. Amongst my piles of paper and supplies I came across these cool pre-cut pieces of card stock.


I inherited these from my sister after she bought them, along with several other wonderful things, to make my bridal shower invitations. These are 4.5" X 6.5" so that set the size.
Next, I searched online to find a free calendar template that I could shrink and customize.

Cut the pages - ugh....I somehow decided to make 52 of these....how did I come up with that number....unknown. So here's some math for you: 52 of these little guys X 15 pages per = 780. Since I could get two 4.5" X 6.5" per sheet of paper, that resulted in 390 sheets of paper to cut up. zoinks!


I then made a prototype....


and decided the back wasn't as stiff as I would like.....gee, do I have any chipboard in my piles of paper? I remembered buying some 12" x 12" sheets a while ago but, the eternal question: WHERE did I put them? :D

Found!
Cut, punched and stacked!

The final product:


What a relief to have these completed

Woo hoo!! - day after tomorrow I'm heading to Port Townsend :)

Namaste,
Dawn


Friday, October 14, 2011

Tim Holtz Seasonal Distress Inks -Autumn 2011


Great news!
I was able to order some of these fantastic ink pad sets from Ranger from there second run!


These are a limited edition collection of Distress Inks in harvest hues and like the changing of the seasons, this Autumn set is only available for a limited time, so collect them now before they’re gone.


Watch for an update next week when I hope to receive them and add them to my online store. I will have a VERY LIMITED QUANTITY so if you are interested stay tuned and asked to be added to my email list at info at motherrubber dot com.


Cheers!

Dawn

Monday, October 03, 2011

Distress Ink Pad Labels

Hey bloggers - Ranger has done something really cool -again!
They have provided labels for their Distress Ink Pads! You can print them onto the small address labels (Avery 5167, 1/2" X 1 3/4") and do what I did: peel the label off of the backing sheet, rub it over the ink pad a bit so it picks up some of the color, then apply it to the edge of the ink pad case...easy organization - I love it!
I added a new page on our web site for downloads such as these labels; check that page out here: Downloads
Check it out here: I lined up all of my Distress Ink Pads in one of my Ink Pad Palaces:


Happy Stamping!
-Dawn

Tuesday, September 06, 2011

Birth-versay Weekend!

My hubby's birthday was last-last Thursday, and our anniversary was last Monday (2 years already!! woo hoo!!) so we took extra time off from work and made it a long weekend....very relaxing.


giggling at a birthday card...


My two fellow sun-soaking companions


My sister let us stay at her Oregon Coast condo - right on the beach.....we had perfect summer weather and total relaxation....we didn't cook one meal!


My Mom lives just 10 minutes away so we met up with her before venturing out.


This is a yummy Italian Soda from the Pizza Garden in Nehalem...pizza was good too!


We ate out, did a tad bit of shopping (it's a mecca for thrift and antique stores), napped, and just enjoyed each other's company...


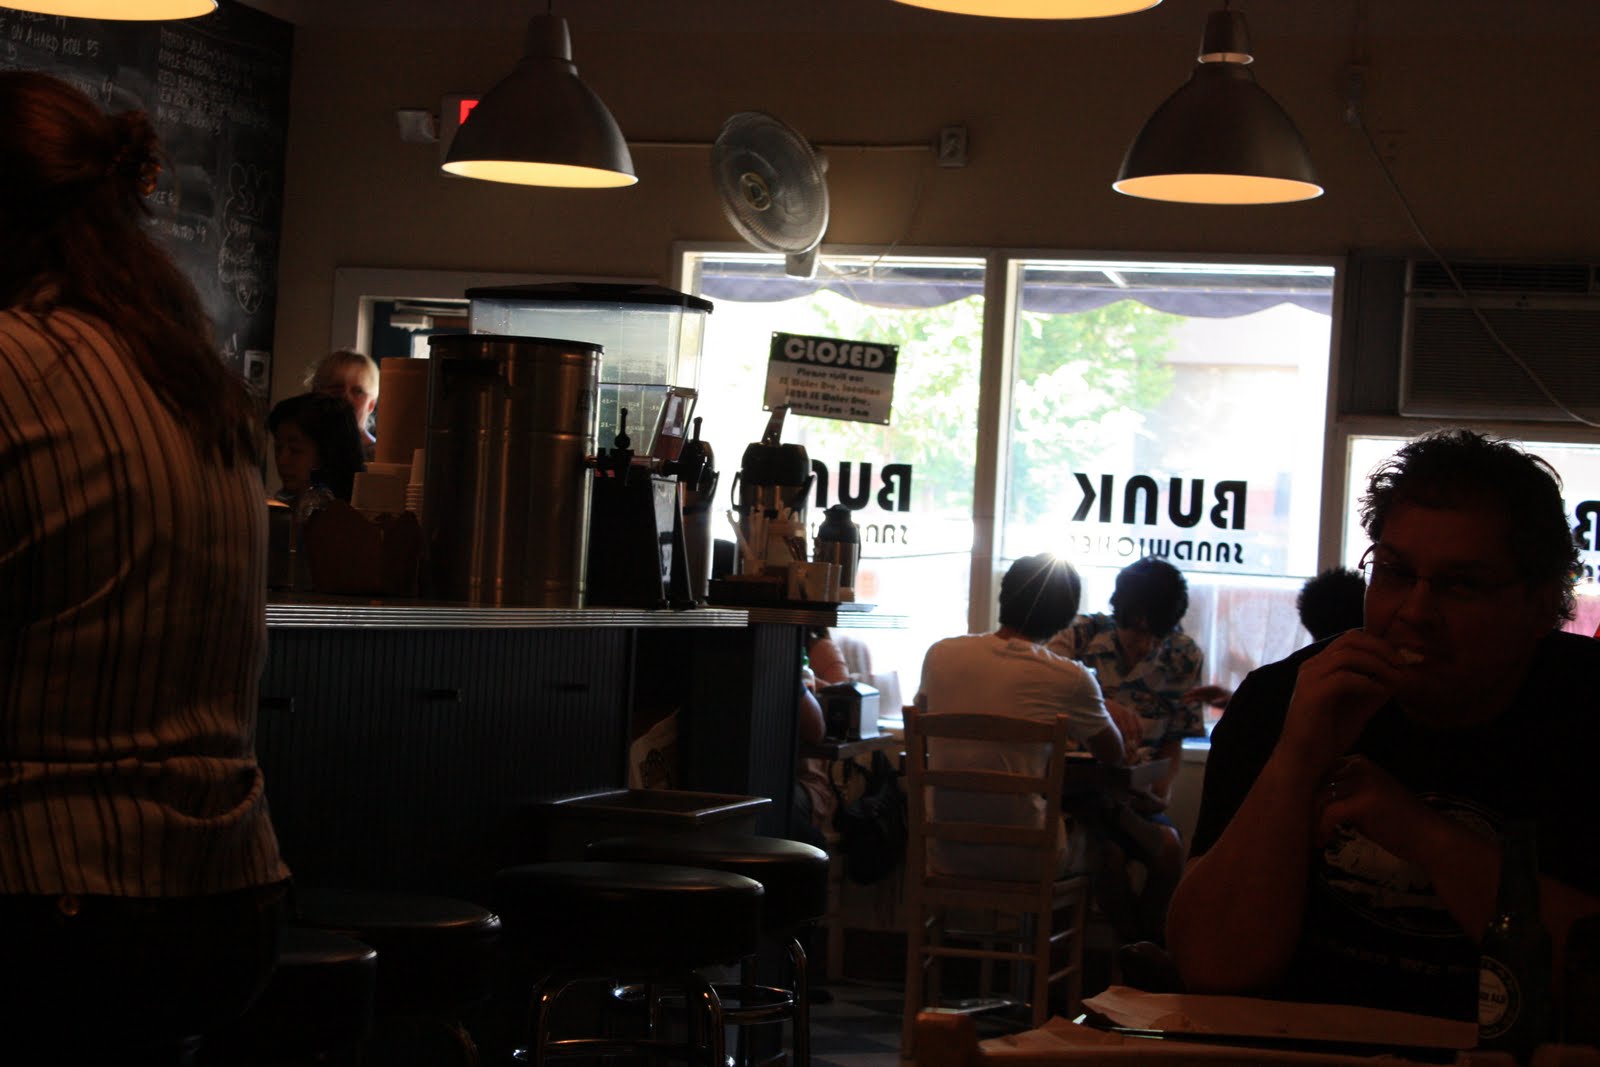
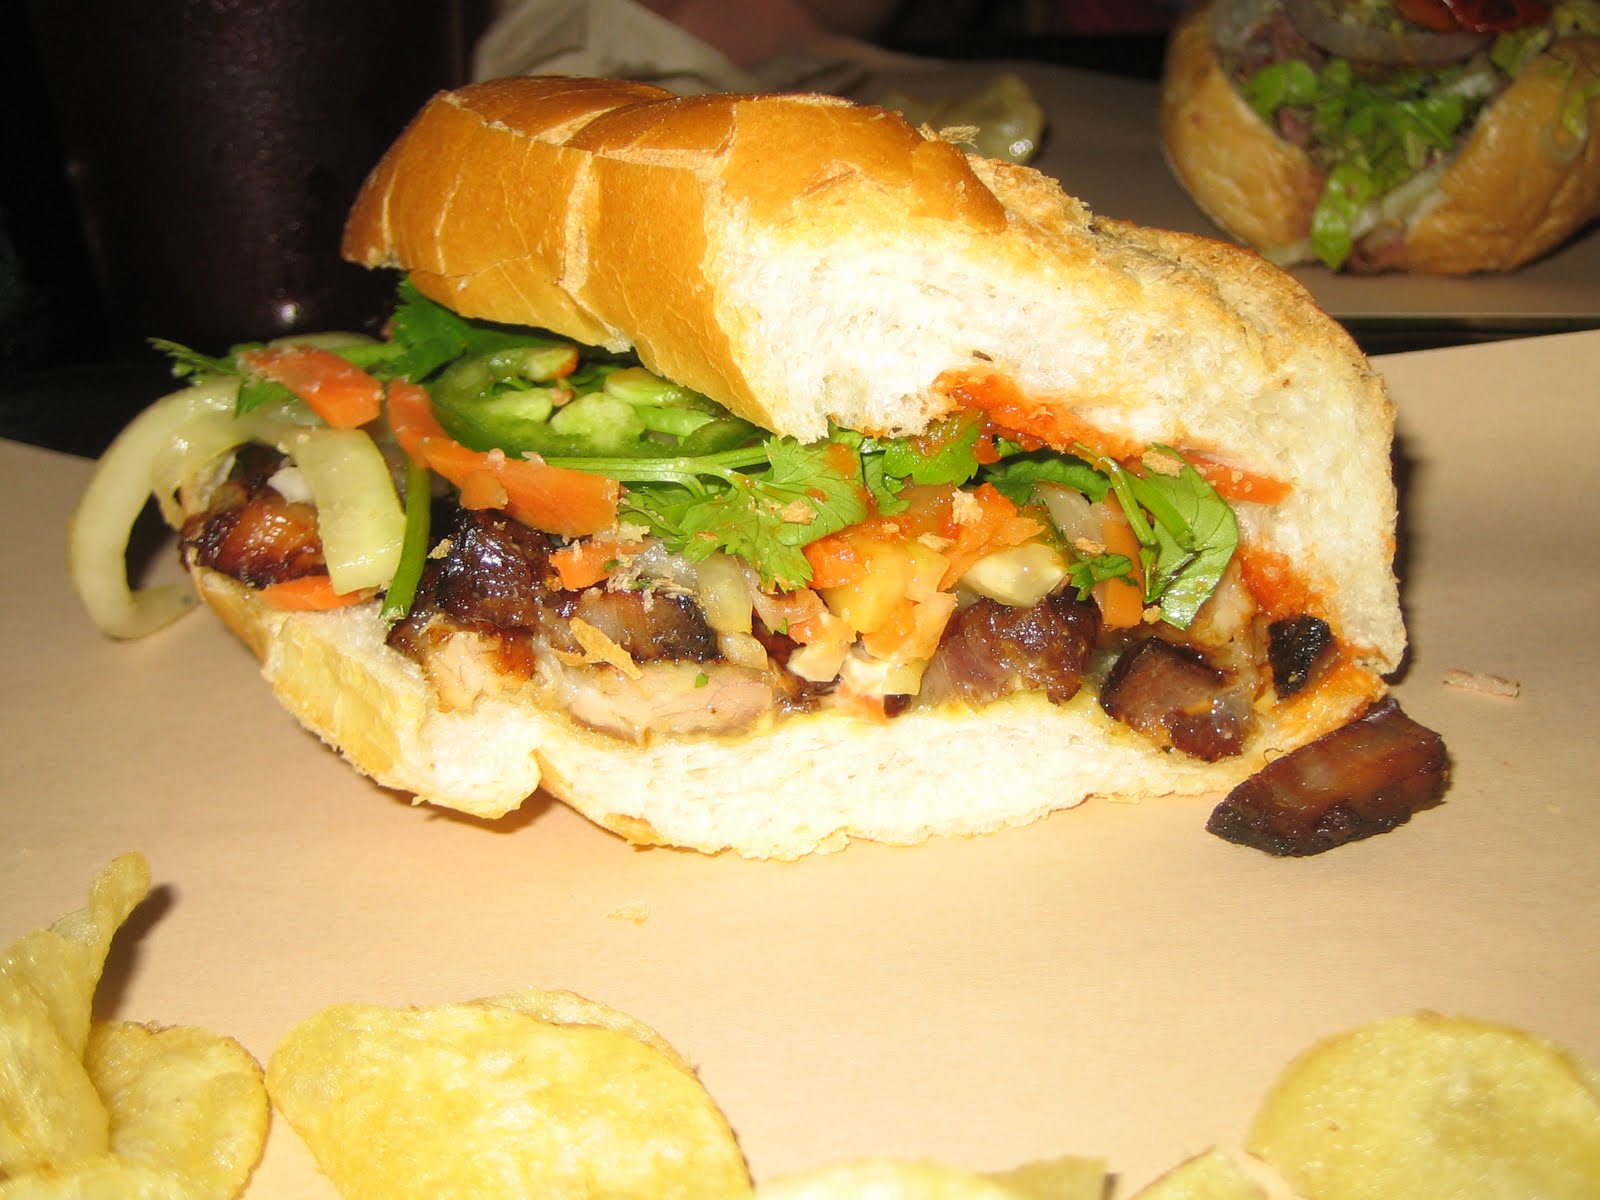
We traveled home through Portland, stopping at Bunk Sandwiches (of Food Network's "Diners, Drive-Ins, and Dives" fame).


They serve a version of Banh Mi (Vietnamese sub sandwiches) which was delicious!


They also have Mexican Coke on the menu - yummy!


This was Collin's Italian Cured Meats sandwich....it was a bit on the sour side for him-pickled peppers on top along with vinegar I'm guessing....I thought it was delicious. :)


Monday, August 08, 2011

Is it too early for this? Haunted House Halloween Card - Instructions


Here's how I made this card:


To create the background, I crumpled my card slightly then flattened it out again and then applied Spiced Marmalade Distress Ink by rubbing the ink pad over the card. I then spritzed with a bit of water and used my heat gun to dry it - this allows the orange color to spread out randomly. I then went over this with Black Soot Distress Ink in the same manner - applying the ink pad to the paper lightly and a bit randomly. I did make sure I got the edges of the card because that gives it a bit of a finished look.
I stamped the Haunted House onto glossy white card stock using Black Onyx VersaFine Ink then I colored it in using markers - I think I used the Marvy Matchables Brush tip markers. I then cut out the haunted house and traced around it adding about 1/8" onto glossy black cardstock, cut that out, and set it aside with the haunted house.
Next, I stamped my Moon Solid image onto some orange holographic sticker paper using Jet Black Staz-On ink and cut that out, then applied it to the card (making sure the card was thoroughly dry).
Finally, I stamped the Scary Dead Tree onto vellum and cut it out; I also tore a random piece of vellum to make the fog and then stamped my Tiny Bat stamp in several spots using the Jet Black Staz-On ink. I adhered that to the card so it slightly overlapped the moon.
Next, I adhered the black haunted house outline directly to the card, and then using black foam dimensional tape, mounted the haunted house on top of the black outline. Finally, using a tiny bit of the black foam dimensional tape, I mounted the Scary Dead Tree in front of the house-overlapping slightly to give the card some depth.
Viola! A Haunted House Halloween Card for you!


What do you think? comments are welcome :)


Dawn

Tuesday, August 02, 2011

New Gallery and cool pop-dot tutorial


New Gallery of Samples


I have added this card to my new gallery of stamped samples to my web site!


As I grow my gallery I am planning to link each card to instructions for completing it along with a supplies list.


If you have cards, tags, scrapbook pages or anything else where you have used Mother Rubber Art Stamps send them in and I'll add them to the gallery!

You can email your images to info "at" motherrubber dot com.


If you prefer to send me the actual card, tag or sample, mail them to P.O. Box 1526, Issaquah, WA 98029. Include a note, your address and return postage if you would like it returned to you.

Homemade Pop-Dots


Here's a great demo for making your own dimensional foam tape in any color for cheap:
http://happilyeverpapercrafter.blogspot.com/2011/06/homemade-pop-dots.html


Comments welcome!
Enjoy your day,

Dawn