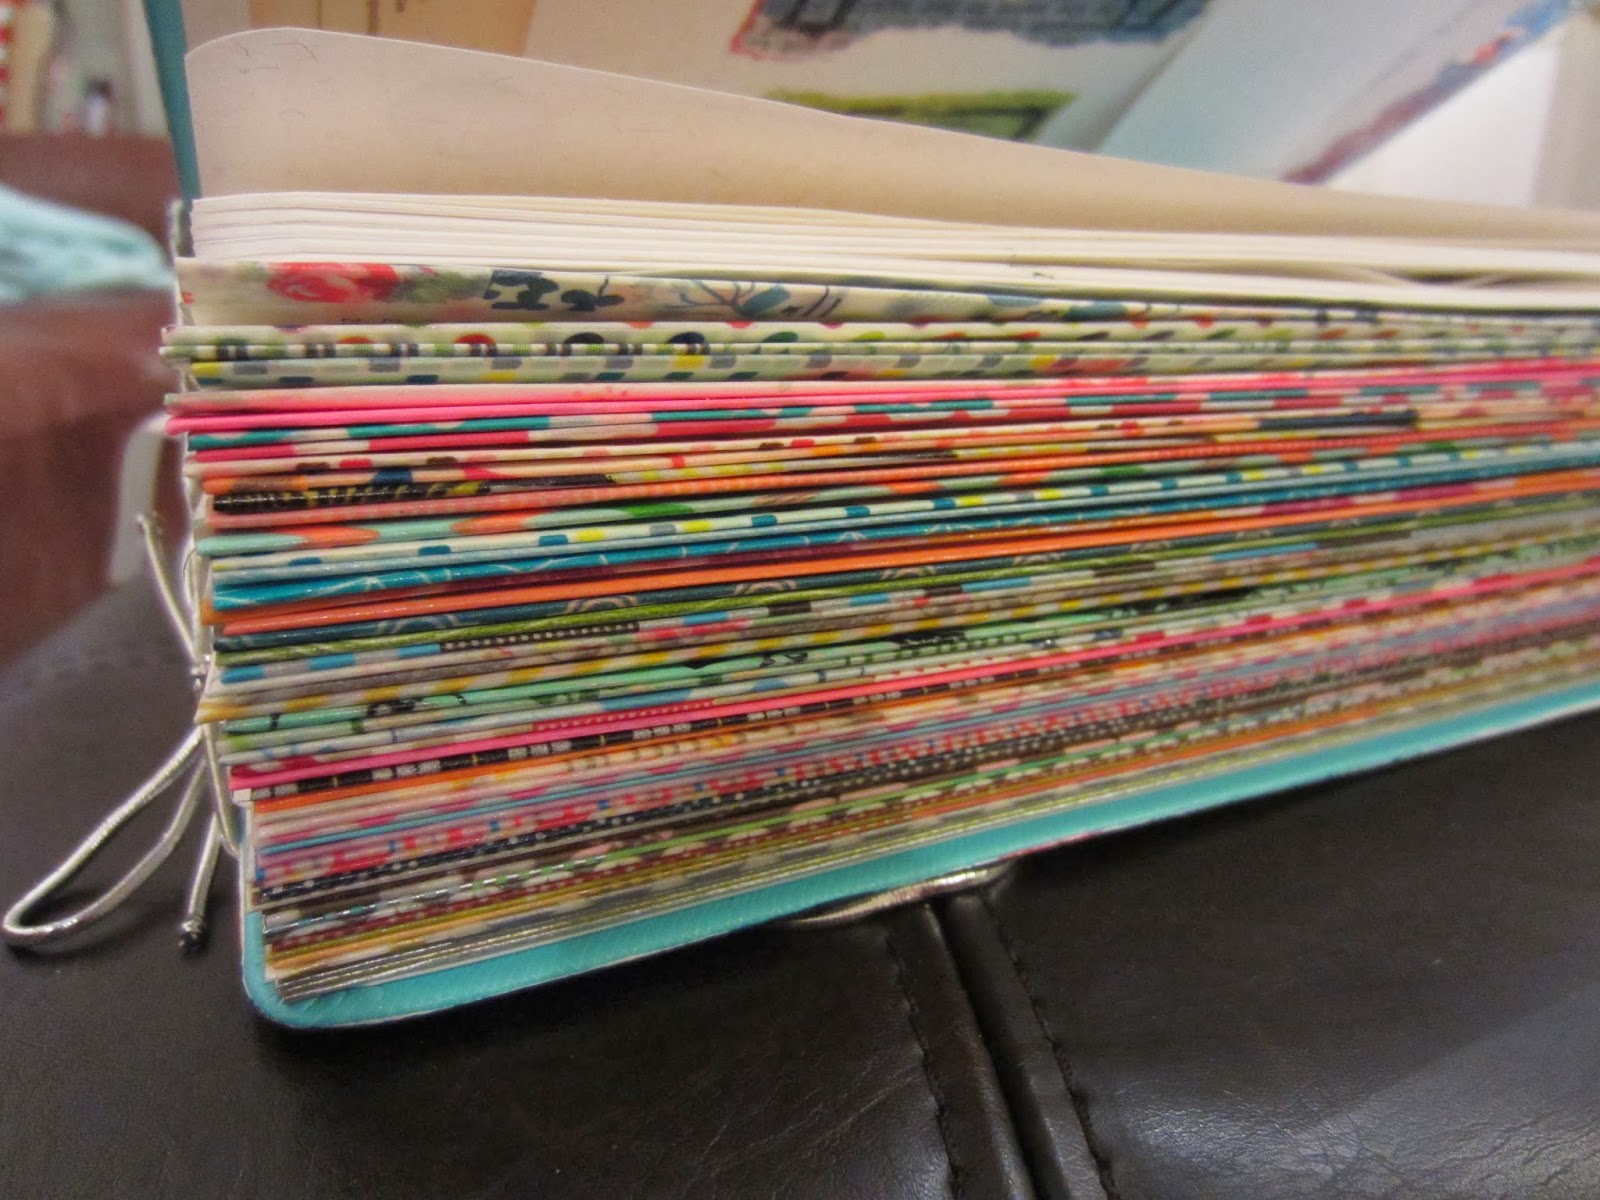
catching up with my Documented Life Project journal pages...I had an incomplete challenge for week 6 and didn't want to post them here out of order.
I know, I know.
I can't help it.
So, here is week 6 challenge, "open your Pinterest board and be inspired*"
*be sure to credit the artist or blogger that inspired you.
That's Easy-ME!
Ha...I have a photo of Garibaldi Bay where my Mom lives as my wallpaper on my laptop and had been wanting to sketch for a while. Here are the results:
Week 7 challenge, "draw one shape -repeat-add color"
I was driving home in the rain one day and thought to myself what of raindrops were rainbow colored-even temporarily....here is the corresponding outcome of that thought trail:
Week 8 was "add a flap to your flap" :D sounds like fun, right?
my results could use some embellishing but here it is anyway:
goodies tucked in an envelope flap for future journal entries...
week 9 "collage something you recycle"
not sure if this is done but it's ok for now:
that shiny stuff is glitter glue and iridescent watercolors
:D :D double down for more fun.
thanks for stopping by, I hope you enjoyed these pages.
leave a comment if you were inspired -they are moderated so it will take me publishing them before you'll see them.
thank you, Namaste.
Sharing artistic discoveries, rubber stamping techniques, and creative ideas for making your own art.
Thursday, April 10, 2014
Sunday, April 06, 2014
new product prototypes - your feedback is requested!
I am designing an add-on to my Ink Pad Palace drawers that will allow storage for Stickles glitter glues and other products in similar size bottles.
I have two prototypes and am wondering which one people think they would prefer to use.
Can you help me out by posting a comment below with your opinion?
Here are the two options:
A. "Neat and Tidy" circles insert - holds 18 Stickles bottles
Please share your thoughts by leaving a comment....comments are moderated so you won't be able to see your comment until I review and publish it-I'll do that as fast as I can-Thank You!!
I have two prototypes and am wondering which one people think they would prefer to use.
Can you help me out by posting a comment below with your opinion?
Here are the two options:
A. "Neat and Tidy" circles insert - holds 18 Stickles bottles
or
Option B - "Ornament Box" style dividers
Holds 21 bottles (3 more than option A)
the bottles are a bit more floppy in this style divider
Please share your thoughts by leaving a comment....comments are moderated so you won't be able to see your comment until I review and publish it-I'll do that as fast as I can-Thank You!!
Sunday, February 16, 2014
mail art and a secret message
the prompt for week 3 was to incorporate a piece of mail from your mailbox into your journal.
I had saved a big envelope I received a couple of months ago....
Here's the inside -those two small images on the right hand page are a couple of beer label designs I did. The other two are stickers of Seattle Times front pages from my Pogo printer. My football team won the SuperBowl. for the first time in the teams history-it was a pretty great day for Seattle Seahawk fans.
week 4 prompt was to write a secret message and then paint over all but one word. my design is not the most inspired, however I love trees. anyway, the word I left was "finish." I have an online video class I am working on and have encountered some internal resistance......so I thought it would be a good subject to write a secret message about. I need to finish it ...so there you go.
I had saved a big envelope I received a couple of months ago....
Here's the inside -those two small images on the right hand page are a couple of beer label designs I did. The other two are stickers of Seattle Times front pages from my Pogo printer. My football team won the SuperBowl. for the first time in the teams history-it was a pretty great day for Seattle Seahawk fans.
week 4 prompt was to write a secret message and then paint over all but one word. my design is not the most inspired, however I love trees. anyway, the word I left was "finish." I have an online video class I am working on and have encountered some internal resistance......so I thought it would be a good subject to write a secret message about. I need to finish it ...so there you go.
Friday, January 24, 2014
journal prompt week 2: selfie!
the week 2 prompt for the journaling group I'm in was to incorporate a self portrait into my planner (journal).
I have a few photos of myself that I like, so I used one of those.
and then it sort of took a humorous turn....
adjusting.....experimenting.......
those small pictures are prints from my Pogo printer -they are stickers!
easy...AND I can send photos to it via bluetooth from my cell phone: way cool.
here's the inside cover of my planner. I cut the address off of a piece of mail and taped it into the front, in case my planner and I ever get separated.
I recommend that you do this in all of your journals. it may get your journal back home to you one fine day
my friend Penelope gave me those cool letters -my initials.....I glued those down and went ahead and glittered them right up.
ooooooo look at all the pretty washi tape :) :) :)
I used many different colors and patterns without regard to matching.
my weeks won't be the same so why make their pages the same?
oh yah-this is one of my month pages I added.
I designed and printed these myself.
I haven't added tabs yet -not sure if I will or not.
Namaste.
I have a few photos of myself that I like, so I used one of those.
and then it sort of took a humorous turn....
I drew us under the photo. I like the weird look it has....like, cartoonish or something....sort of like Lynda Barry but not as good (of course) . just that odd hand drawn look
just don't look at my nose.
I want to get more comfortable with drawing people and these are the two I am around the most :)
I'm still figuring out how I like to do my entries in this new format....
adjusting.....experimenting.......
those small pictures are prints from my Pogo printer -they are stickers!
easy...AND I can send photos to it via bluetooth from my cell phone: way cool.
here's the inside cover of my planner. I cut the address off of a piece of mail and taped it into the front, in case my planner and I ever get separated.
I recommend that you do this in all of your journals. it may get your journal back home to you one fine day
my friend Penelope gave me those cool letters -my initials.....I glued those down and went ahead and glittered them right up.
ooooooo look at all the pretty washi tape :) :) :)
I used many different colors and patterns without regard to matching.
my weeks won't be the same so why make their pages the same?
oh yah-this is one of my month pages I added.
I designed and printed these myself.
I haven't added tabs yet -not sure if I will or not.
I probably will - I like tabs, generally speaking.
thanks for stopping by - please comment if you like anything - I moderate the comments so they won't show up immediately, but I love comments and will publish them ASAP.Namaste.
Tuesday, January 14, 2014
painting my journal cover
I started by applying 3 coats of gesso to my planner - I forgot to take pictures of the cover with the plain gesso.
I knew the effect I was going for and had an idea to try to get me there...
I love space and wanted my cover to look like a nebula out in space... :D
SO, knowing that a white background will make your colors seem brighter, I picked out a few fluorescent colors and went to work.
I applied a few larger areas of distinct colors on the front cover(above, right) - using my fingers in order to control the the paint application
and because it's fun to finger paint.
this is the back cover, where I used a paintbrush and got into a little brush stroke groove...
if you look at the bottom, left area of the cover you can see it is fluorescent GLITTER paint....
I mean seriously!
I added some pieces of old book pages I had punched into leaf shapes just before I began painting. You can see them above....I like the fish.
this is a close-up of a set of fluorescent fabric paints I used ....
And here is the final result:
I tried a midnight blue and a black acrylic craft paint and determined the black is what worked.
Those pretty shimmery colors are Glitz Spritz sprayed onto the dried paint.
I used Royal Peacock Fire, Royal Emerald Fire and Royal Lapis Lazuli Fire.
There is also a bit of Hottie Patottie Pink Starburst Spray in the mix as well.
Do you think it resembles a nebula?
leave me a comment - I love hearing from you!
Thank you for stopping by!
Monday, January 13, 2014
a new journal - of sorts
2013 ended in a hurried, uncomfortable way for me. We lost my father-in-law in November and the mourning period stretched through to the end of the year - Sunday, December 29 to be precise.
Without kvetching or whining too much, I feel as though I missed a lot of what I look forward to during the holidays, Christmas especially. I have written in my journal about it and am launching into 2014 with a fresh outlook.
I just wanted to share a little bit with you about why it has been so long since I posted on my blog.
I love the New Year - I like setting goals for the new year and feeling as though I have a clean slate;
that excitement of seeing 12 clean months stretch out in front of you like an empty highway begging to be driven upon.
Eventually I hope to be able to have this feeling every morning, but as of today feeling it now, at the start of this new year in front of us, is enough.
A friend of mine up north suggested a free facebook group to me that sounded very interesting - it's called the Documented Life Project. The premise in a nutshell is combining a planner and your journal into one, and filling it out with weekly challenges.
I decided to post my results here so I have them all sort of collected together in one place online.
this is the planner I chose - it's a lovely one made by Gallery Leather, found at Barnes and Noble here is Issaquah, Washington - near where I live. I liked this one because it was a lovely turquoise color, and is Made in the USA! The moleskine ones that were recommended in the group are mostly made in China :(
So with a little patience and searching through what they had, I hit the jackpot. This is about 6 1/2" wide by 9" tall - larger than the moleskine too, which I prefer.
Week 1 Challenge: photograph, sketch, paint or incorporate your front door.
I drew this with a micron pen, size 005, then watercolored over it with Daniel Smith water colors.
There is also an optional class that teaches you how to alter your planner, decorate the cover, and add "tip in" pages; these are really just flaps -\I always thought tips ins are when you add an entire page to your book - not just adding to an existing page-but whatever you call them, I did some. I thought I would take my own path -you know, see what the other folks were doing and just make it up.
So here are my page flap additions as of week 1:
what do you think of it so far? :)
Subscribe to:
Posts (Atom)